This guide is your starting point into the world of Docker, a tool that has transformed software development and deployment. Whether you're a developer, a system administrator, or simply curious about Docker, you're in the right place. Docker Containers offer a streamlined way to package and deliver applications, ensuring consistency across environments and simplifying deployment processes. But what makes Docker so essential, and how can you use it effectively, even as a beginner?
We'll cover the basics of Docker, dive into how containers work, and explore the practical steps to use Docker in your projects. From setting up your first container to mastering Docker commands, we aim to provide a clear, practical guide to understanding and leveraging Docker.
Join us as we simplify Docker, showing you how it can be a powerful ally in your development and deployment workflow.
What Is Docker?
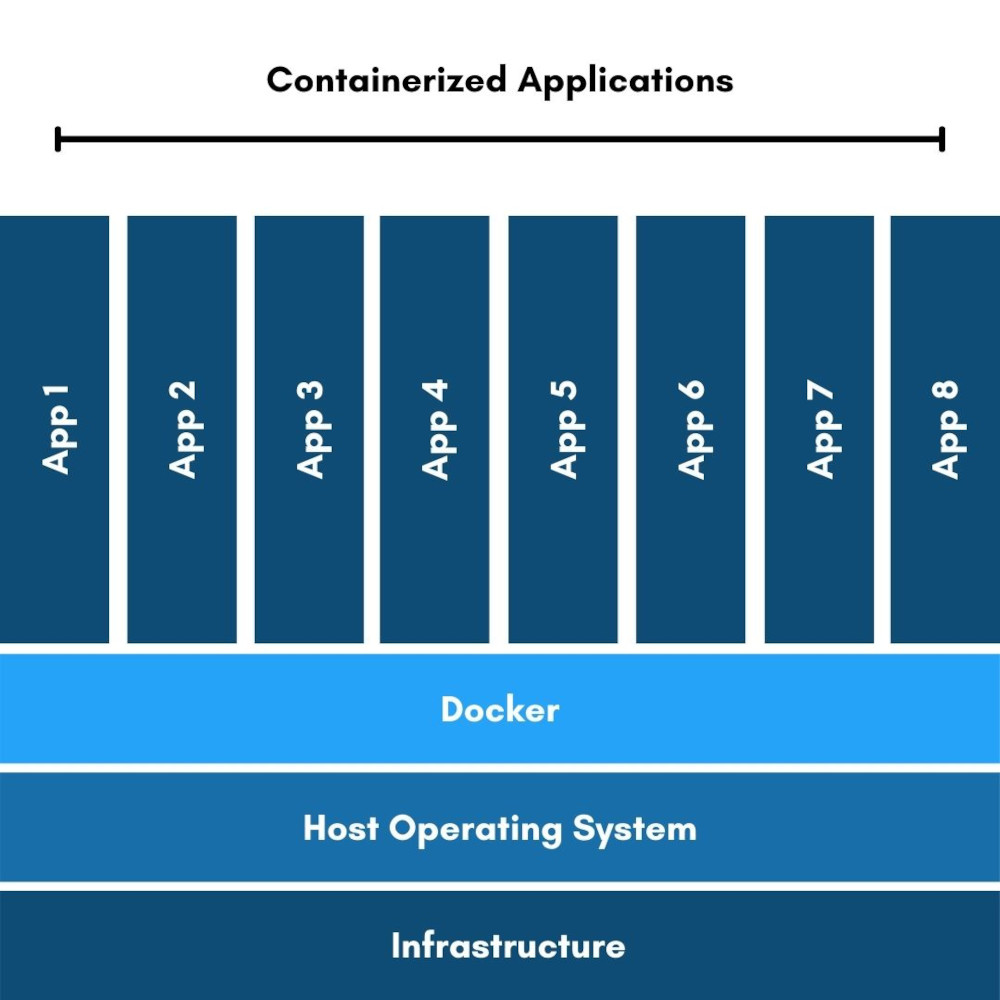
At its core, Docker is a platform that allows developers and sysadmins to develop, deploy, and run applications with containers. The magic of Docker lies in its ability to package an application and its dependencies in a virtual container that can run on any Linux, Windows, or macOS machine. This means that Docker simplifies the process of running applications in a segregated environment, known as a container, without the overhead of traditional virtual machines.
What is in a Docker container?
Imagine a container as a lightweight, stand-alone, executable package that includes everything needed to run a piece of software, including the code, runtime, libraries, environment variables, and system settings. Containers are isolated from each other and the host system, but they share the host OS kernel, start instantly, and use a fraction of the memory compared to booting an entire operating system.

What can I do with Docker?
Docker's approach to containerization offers several benefits:
-
Consistency Across Environments: Docker containers ensure that your application works seamlessly in any environment. This consistency eliminates the "it works on my machine" problem, making development, testing, and deployment much smoother.
-
Efficiency: Containers require less hardware resource than traditional or virtual machine environments because they don’t include operating system images. This efficiency translates into faster start-up times and lower computing resources, saving costs.
-
Isolation: Docker ensures that applications are isolated not only from each other but also from the underlying system, offering a higher level of security. Each Docker container runs independently, making it easier to manage and monitor individual applications.
What is the difference between Docker Container and Docker Image?
A Docker container is created from a Docker image. An image is essentially a snapshot of a container, a lightweight, stand-alone, executable software package that includes everything needed to run a piece of software. When you run a Docker container, Docker pulls the image, creates a new container, and executes it. This process ensures that the application runs in exactly the same way, regardless of where the container is deployed.
How to start a Docker Container?
Starting with Docker involves installing the Docker software on your machine, pulling or creating Docker images, and running containers based on those images. The beauty of Docker is its simplicity and the vast ecosystem of available Docker images, which can be found on Docker Hub, allowing users to share and leverage containers for a wide array of applications.
How Do Docker Containers Work?
Understanding how Docker Containers work is key to effectively leveraging Docker for your development and deployment needs. This section breaks down the operational aspects of Docker Containers, providing insight into their lifecycle and management.
The Lifecycle of a Docker Container
The lifecycle of a Docker Container begins with an image. An image is an inert, immutable, file that's essentially a snapshot of a container. Here’s how you can bring this image to life in the form of a container:
-
Create: You create a new container from an image when you run a command like
'docker run'. This step does not start the container immediately but prepares it for execution. -
Start: By starting the container, Docker initializes the runtime environment, allocating resources and running the application or process defined in the Docker image.
-
Stop: Containers can be stopped using commands like
'docker stop', which sends a SIGTERM signal to the container's main process, allowing for graceful shutdown. -
Restart: A stopped container can be restarted, which is useful for applying updates or recovering from process failures.
-
Delete: Once a container is no longer needed, it can be removed from your system using
'docker
                rm'
, cleaning up the resources it was using.
Managing Containers
Docker provides a suite of commands to manage containers effectively:
|
Command
|
Description
|
|---|---|
| 'docker ps' | List all running containers. Use '-a' to see every container, running or
stopped. |
| 'docker start [container]' | Start a specific container. |
| 'docker stop [container]' | Stop a running container. |
| 'docker restart [container]' | Restart a container that is already running. |
| 'docker rm [container]' | Remove a stopped container from the system. |
Interacting with Containers
Beyond starting and stopping, Docker allows for interactive management of containers:
-
'docker exec':Run a command in a running container. This is useful for interactive troubleshooting or configuration adjustments. -
'docker logs [container]':Access the logs of a container, crucial for monitoring and troubleshooting.
Creating and Managing Docker Images
Before you can run a container, you need an image. Docker images can be obtained in two ways:
-
Pulling an image from Docker Hub: With a simple
'docker pull [image]'command, you can download pre-built images from Docker Hub, a repository of Docker images created by both Docker, Inc., and the community. -
Building your own image: Using a Dockerfile, a simple text file that contains instructions on how to build an image, you can create custom images tailored to your applications.
Building an image is done with the 'docker build' command, which processes the instructions in the
Dockerfile to create a ready-to-run image.
How to Best Use Docker
To fully leverage the power of Docker, it's essential to adopt certain best practices and tips that can enhance the performance, security, and manageability of your Docker containers. Here, we'll explore some of these strategies to help you optimize your Docker usage.
Efficient Image Management
-
Keep Images Small: Use multi-stage builds in your Dockerfiles to reduce image size. This involves using one image to build your application and a smaller, second image to run it.
-
Use Official Images: Whenever possible, use official images from Docker Hub as your base images. They are well-maintained, secure, and regularly updated.
Container Management
-
Use
'.dockerignore'Files: Similar to'.gitignore'files,'.dockerignore'files prevent unnecessary files from being added to your Docker context, speeding up the build process. -
Container Orchestration: For managing multiple containers, consider using a container orchestration tool like Docker Swarm or Kubernetes. These tools help in automating deployment, scaling, and management of containerized applications.
Security Practices
-
Scan Images for Vulnerabilities: Regularly use tools like Docker Bench for Security or Clair to scan your Docker images for known vulnerabilities.
-
Use Least Privilege Principle: Run containers with the least privileges needed to execute their tasks. This minimizes the impact of potential breaches.
Networking and Storage
-
Persistent Storage: For data that needs to persist beyond the life of a container, use Docker volumes or bind mounts. This ensures your data is kept safe and accessible even when containers are destroyed.
-
Efficient Networking: Utilize Docker's networking capabilities to securely connect containers to each other and to the outside world. Use Docker Compose to define and run multi-container Docker applications with all their networking needs.
Monitoring and Logging
-
Monitor Container Performance: Tools like Prometheus and Grafana can be used to monitor the performance of your Docker containers, providing insights into resource usage and potential bottlenecks.
-
Centralize Logging: Implement a centralized logging solution, such as ELK Stack (Elasticsearch, Logstash, Kibana) or Fluentd, to aggregate and analyze logs from all your containers, making it easier to troubleshoot issues.
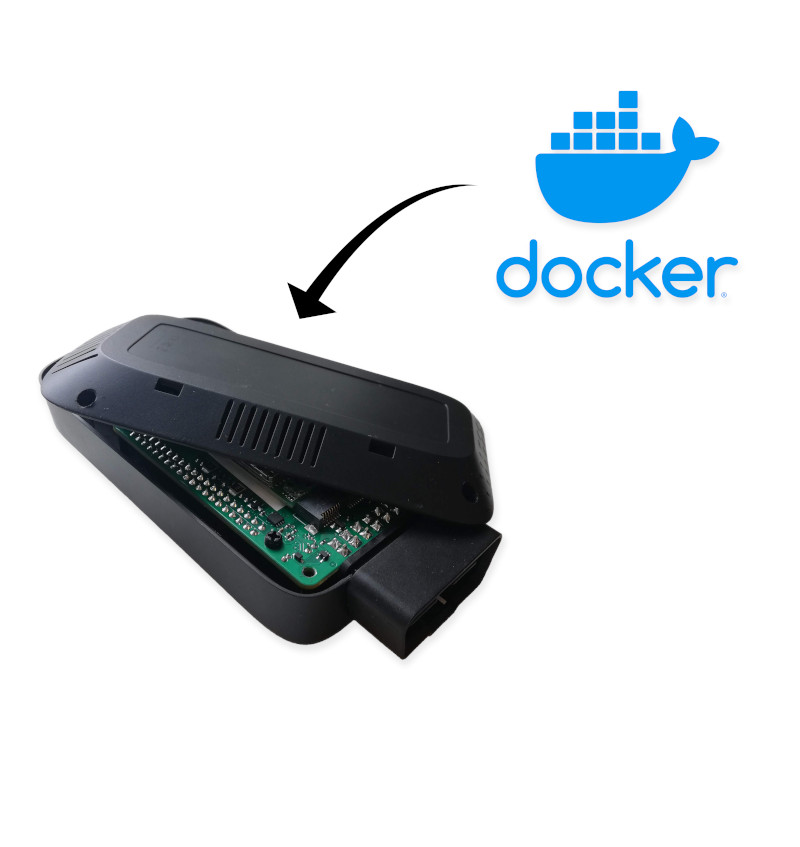
Enabling Docker Containers With AutoPi
Initial Setup and Dockerfile Creation
-
Ensure your AutoPi device is ready and Docker is installed.
-
Create a Dockerfile for your IoT application, specifying the environment setup, dependencies, and application execution command.
Building and Deploying Docker Containers
-
Build your Docker image with the
'docker build'command. -
Deploy your application by running a Docker container on the AutoPi device using docker run, adjusting for any environment variables or port configurations.
Explore how to setup Docker on AutoPi
Benefits using Docker on AutoPi
-
Network Configuration: Adjust Docker network settings for seamless communication with AutoPi Cloud.
-
Security: Implement Docker security best practices, like using non-root users and scanning images for vulnerabilities.
-
Persistent Storage: Use Docker volumes for data that must persist beyond container lifecycles, crucial for IoT applications involving data logging or backup.
-
Monitoring and Updates: Keep tabs on container performance and health, and regularly update containers with new application versions or security patches.

In conclusion, Docker offers a powerful and flexible way to develop, deploy, and manage applications within the AutoPi IoT infrastructure. By following the steps and best practices outlined, you can harness the full potential of Docker to enhance your IoT projects. Remember, our team is always available to support you, so don't hesitate to reach out with any questions.


